Have you ever wished you could change the color of your windows? I’ve always been envious of newer homes and the new black window frames. They look so modern, clean, and crisp! We could definitely not afford to replace our windows and functionally ours work fine.
A new trend in the home decor Instagram community was using spray paint to paint window frames. I was leery – seemed like a lot of work and would the result be long lasting?
After months of watching others do it and talking to a few of my DIY friends that had done it I decided to try it! One factor that helped me decide to try it is we rarely open our windows. In my case, I didn’t feel like they would be getting daily use.
Supplies
- Frog tape (for clean crisp paint lines)
- Painter’s Plastic (I like the kind that comes with the tape)
- Spray Paint
- Mask (the fumes are a lot)
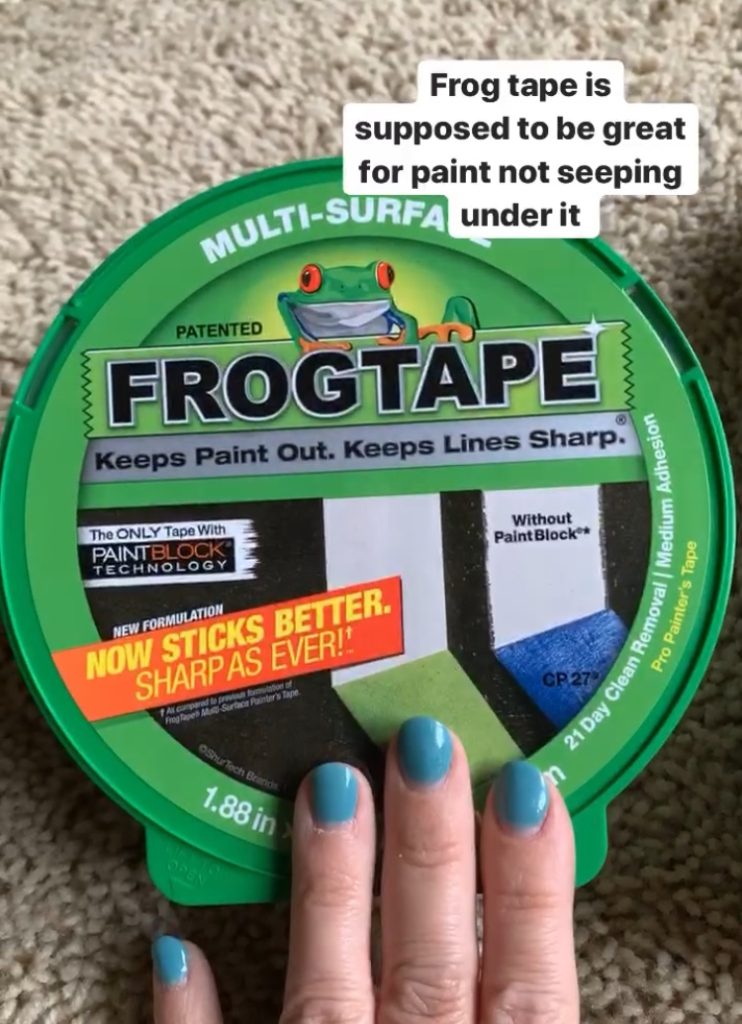
Painter’s Tape 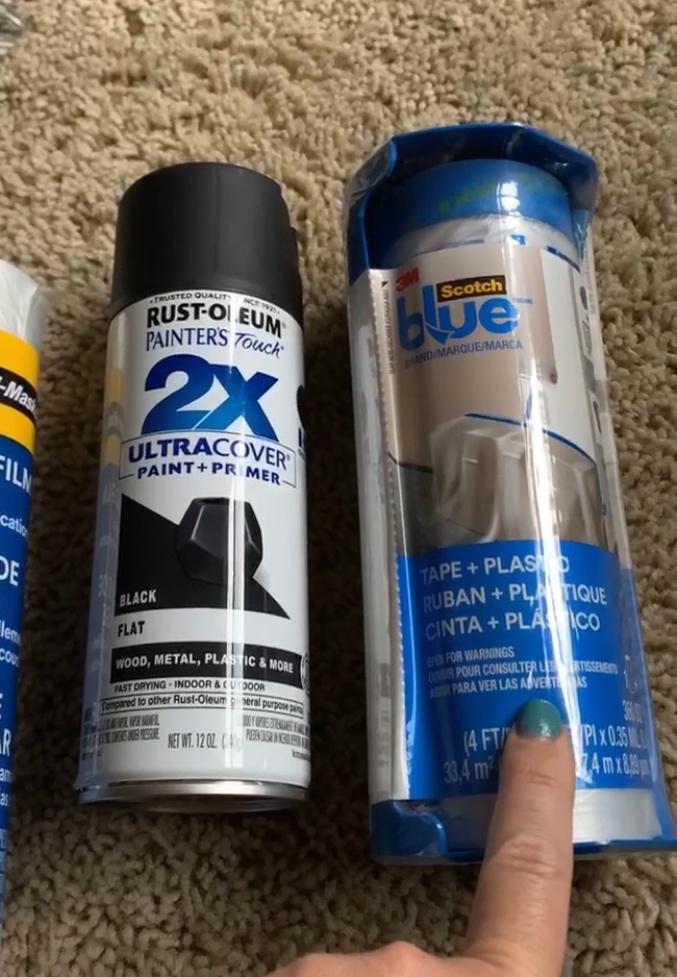
Spray Paint & Painter’s Plastic/Tape in One
You may be wondering why spray paint when you could paint by hand? The finish! The extra prep for spray painting indoors is worth it. Just like if you use a paint sprayer it leaves a uniform finish without paint brush strokes. Spray paint is also meant for any surface so no prep, not to mention durable!
Prep
Not going to lie, the prep for this project is way more work than the actual painting. Just like with any project, if you put in the time to do it right you’ll get better results.
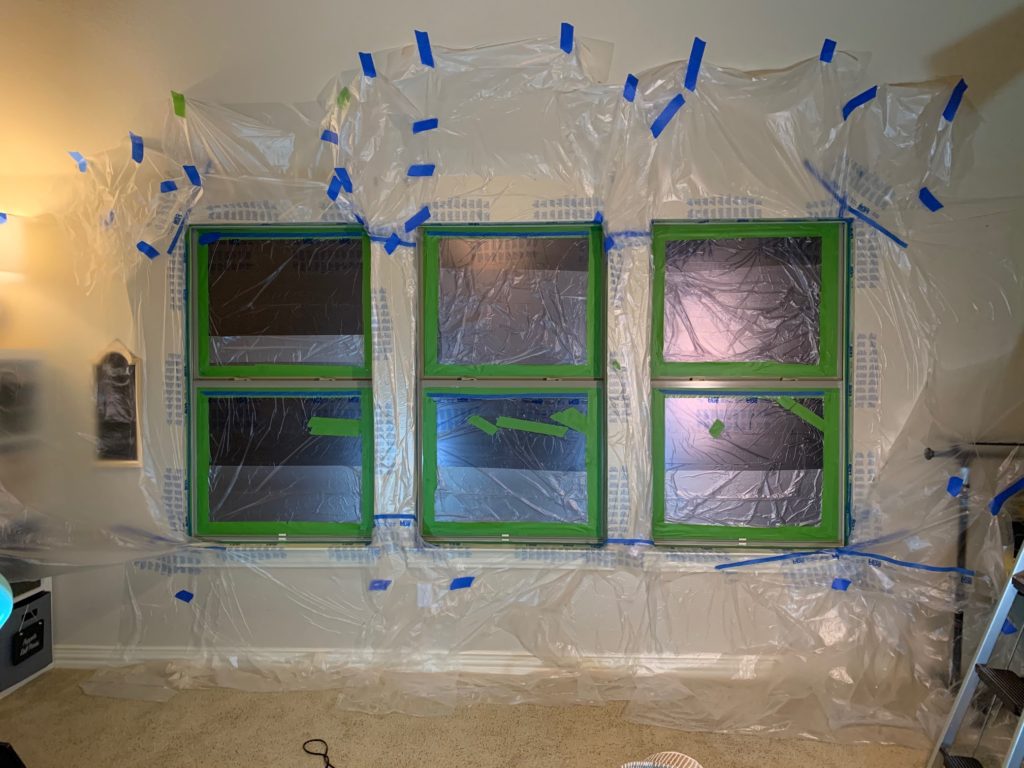
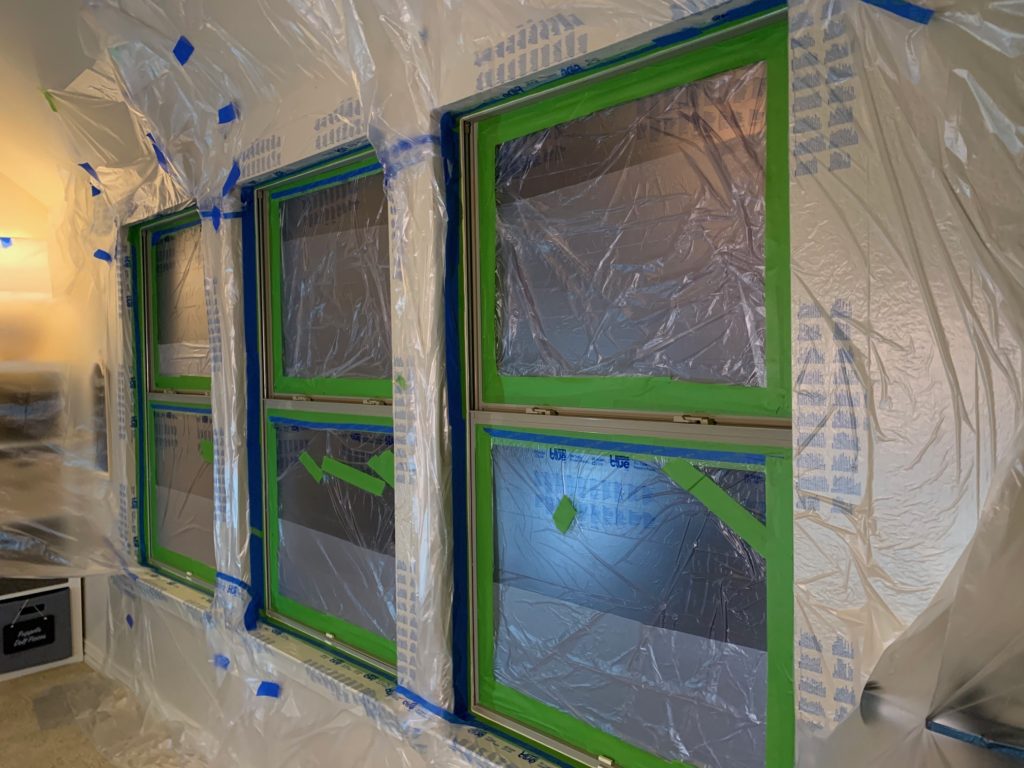
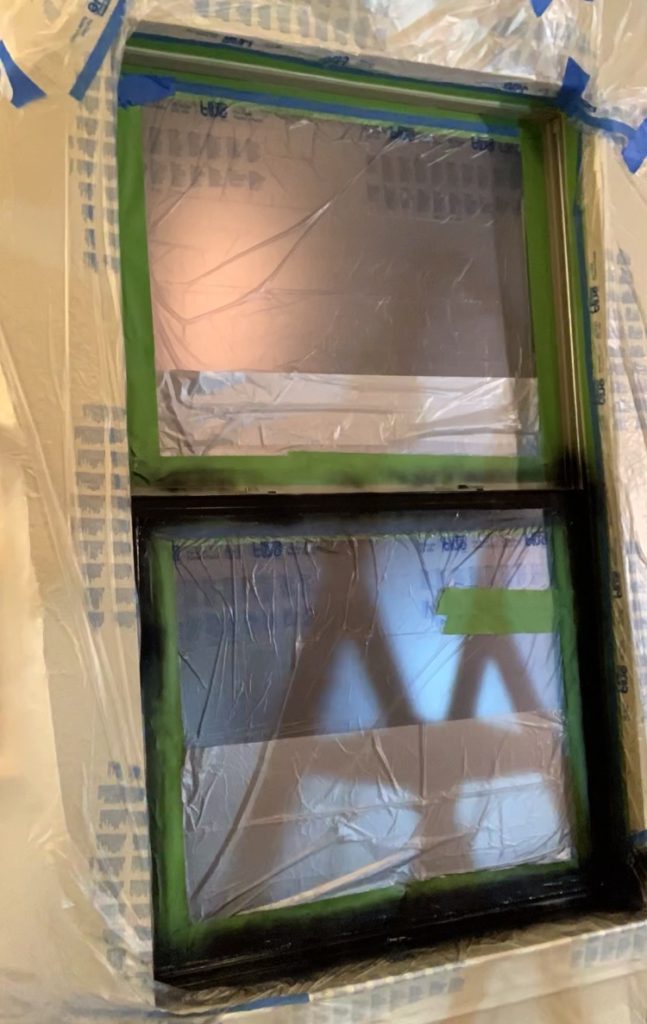
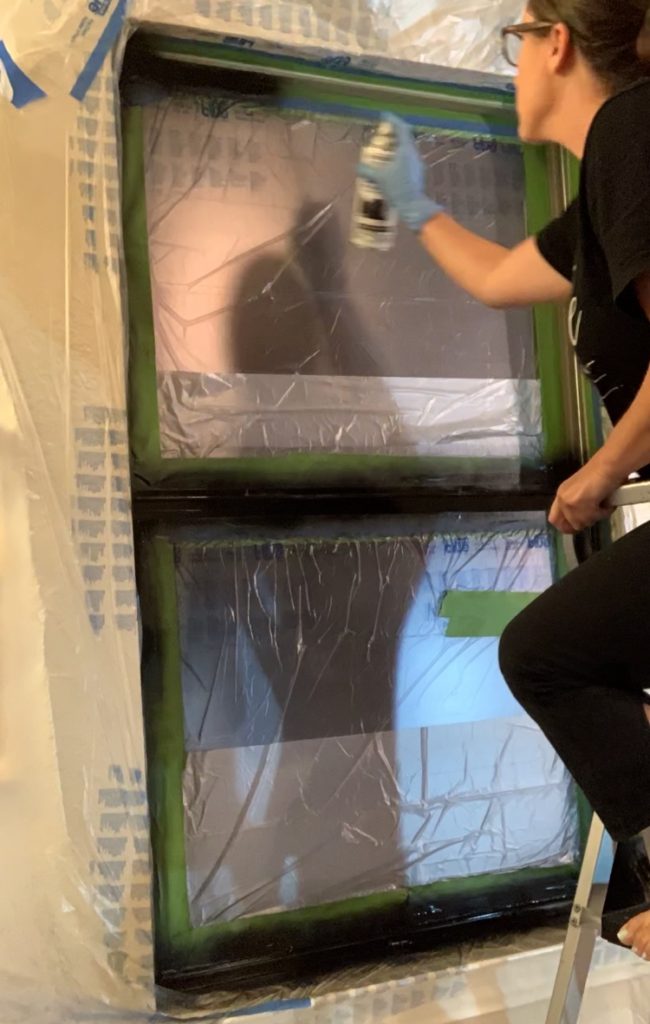
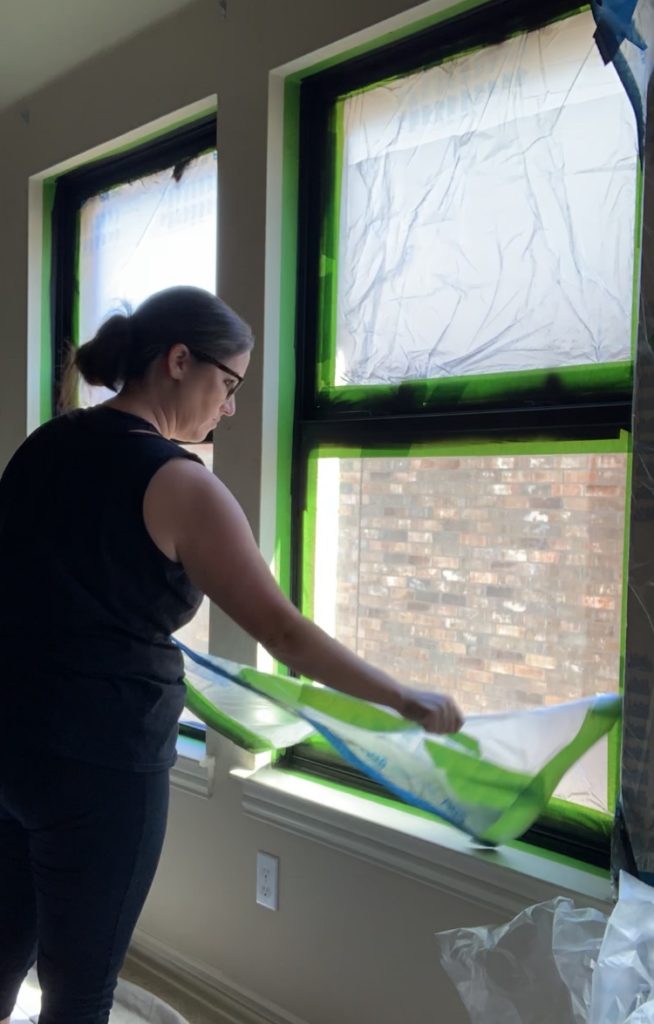
I taped off the glass first. I took Frog Tape and taped the glass window frame boarder first (inside the window) and then taped the outside of the frame. I was very precise with taping since any spot not taped perfectly would end up with paint getting in places I didn’t want. PRESS DOWN and make sure your tape is good and stuck down with no gaps! Paint will get in every little gap otherwise. After taping off the borders, I put plastic over the window glass, then taped off all around. Maybe I went overboard but there is a lot of over spray!
Painting
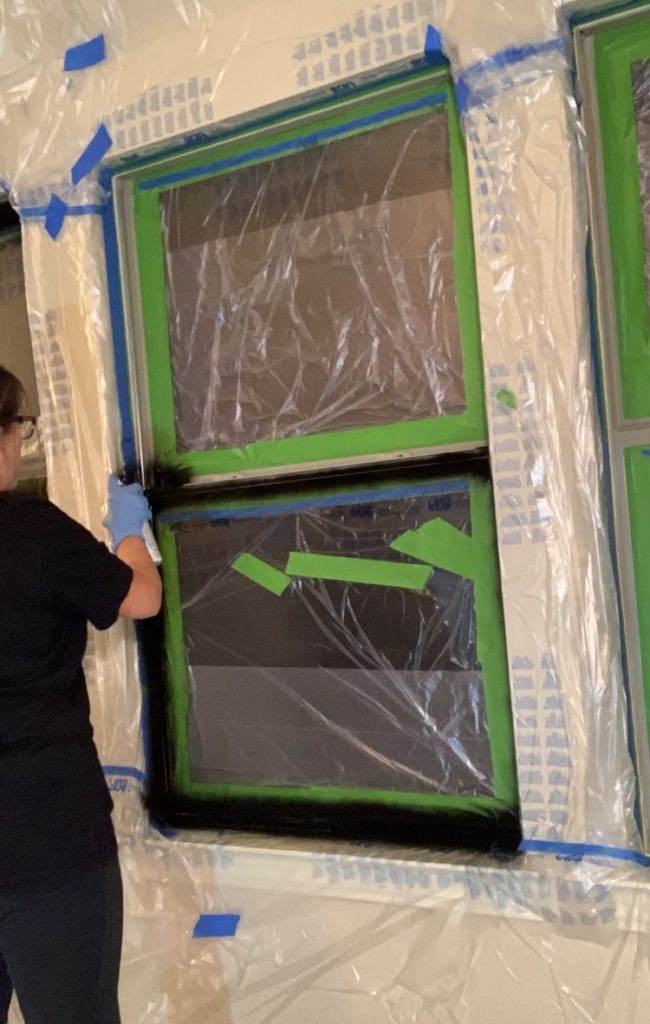
This was the fun and equally nerve wracking part! After all the hard work of prep, you finally get to see results! You want to start spraying in light even strokes. I did not get too close and did not worry about getting full coverage the first coat. A light coat does the trick because you DO NOT want paint drips from spraying too much paint in one spot! I let the paint dry a few minutes and did a second coat. I did several windows so by the time I was done with the last one it was time to do the second coat on the first one again.
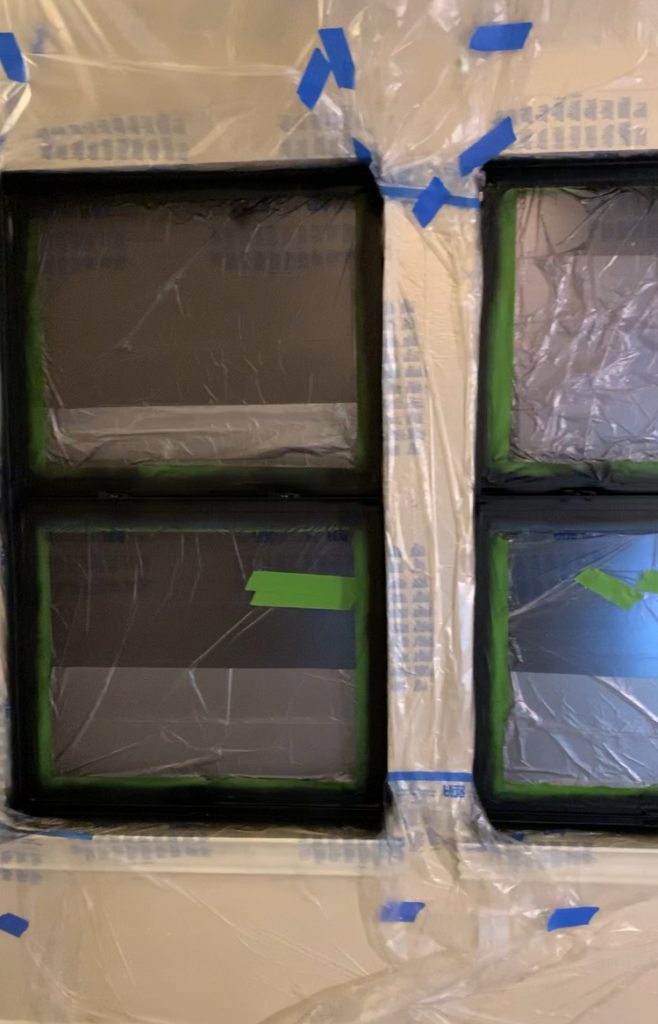
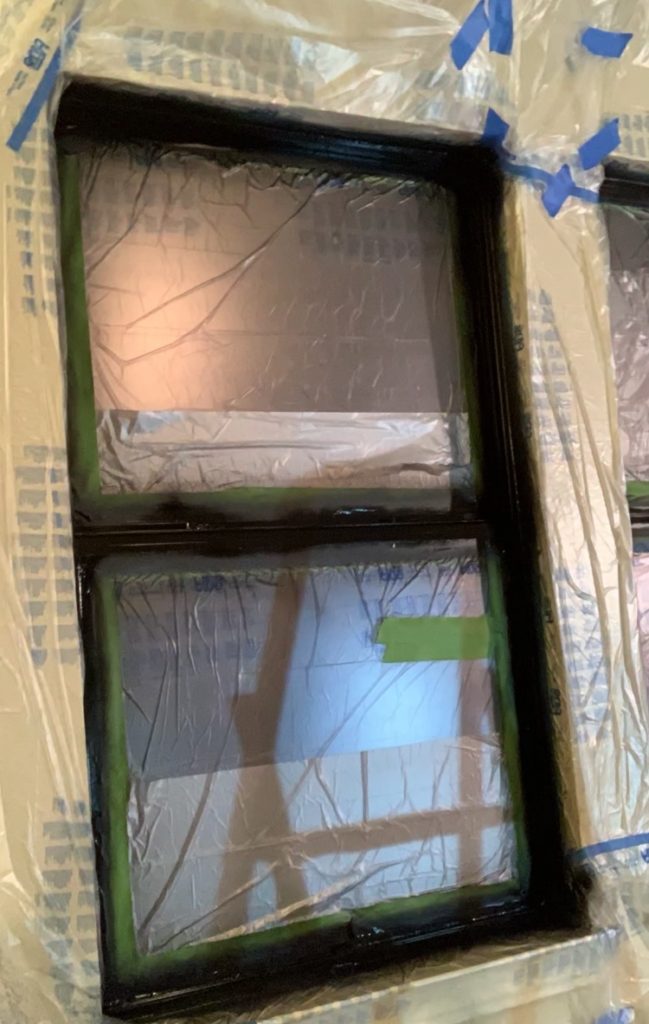
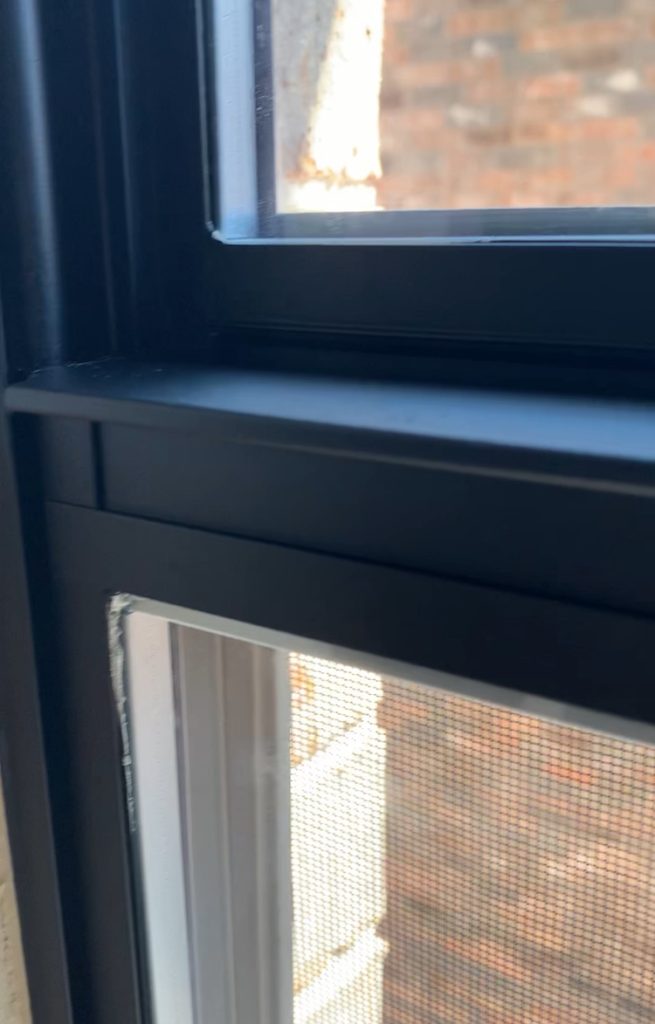
Two coats is all you need! Let dry and then you can rip the tape off. If you do get paint drips at some point, then let the paint completely dry. Once its dry take some sandpaper and sand down the paint drips then respray! Not a huge deal. If you have any over spray or tape leak, you can just touch up with your wall paint when you are done.
Finished Product
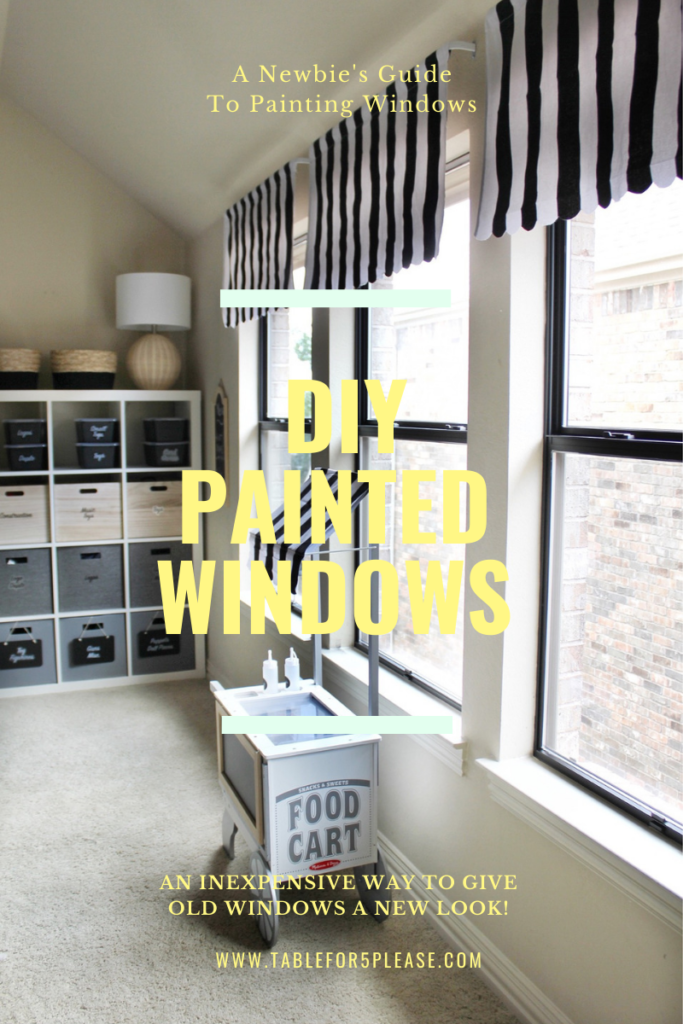
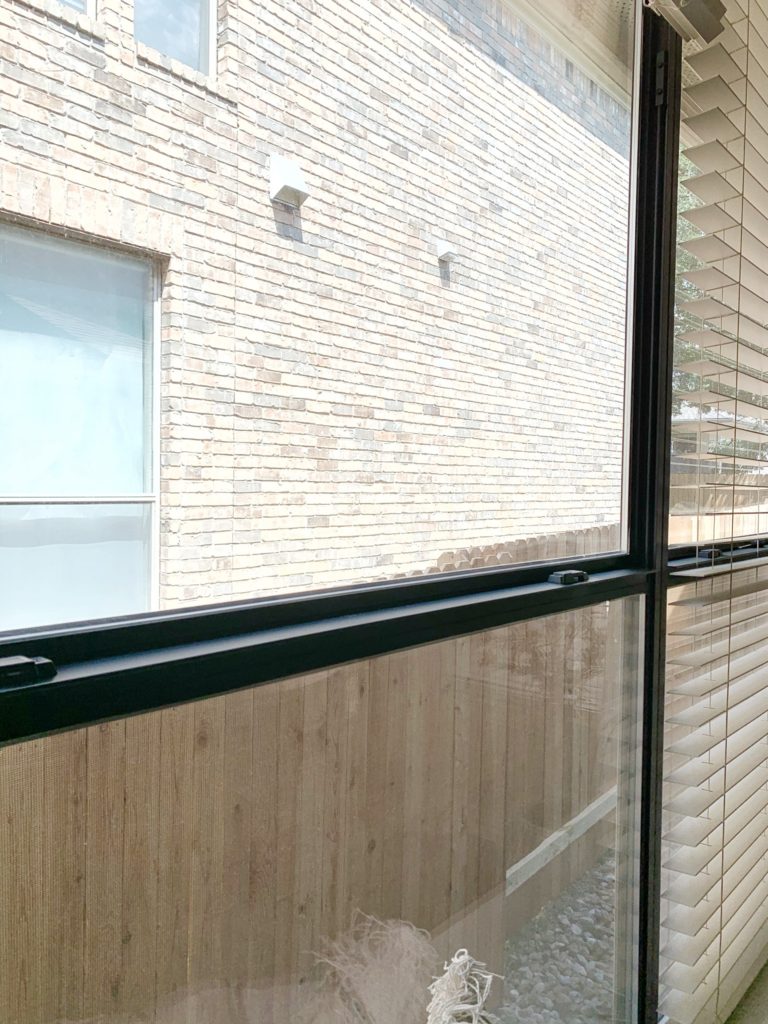
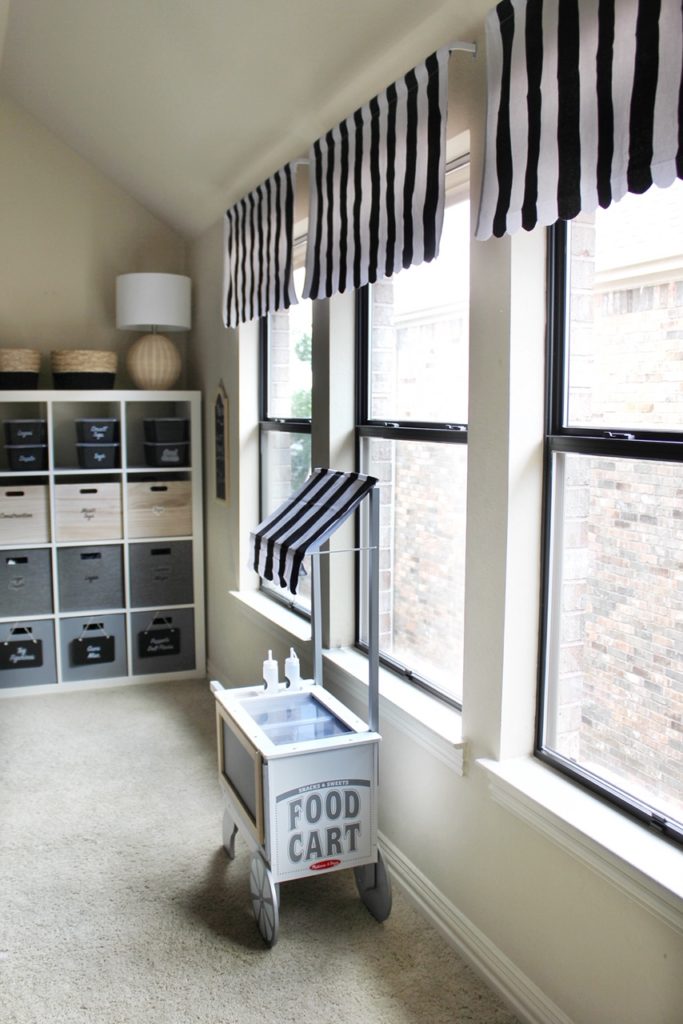
Once I was done I felt like I had custom windows! By far the best, least expensive home DIY I’ve done in a long time! It added so much to the playroom and kitchen and instantly made our older home seem more modern. Have I convinced you to try it? Have questions? Comment below, send me an email, or find me on Instagram @tablefor5please!

