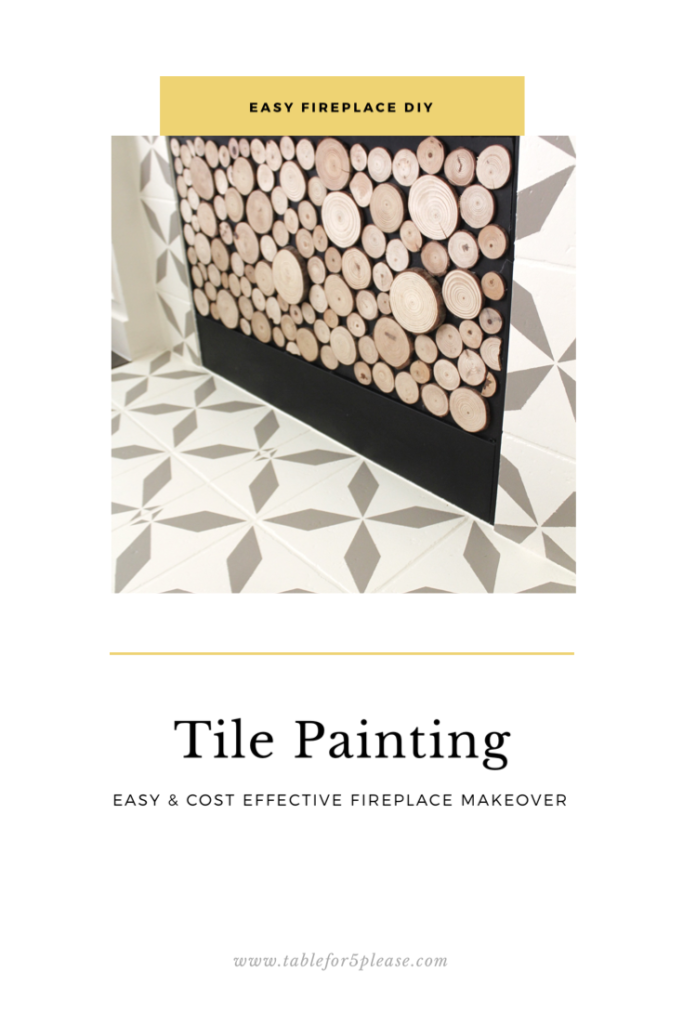
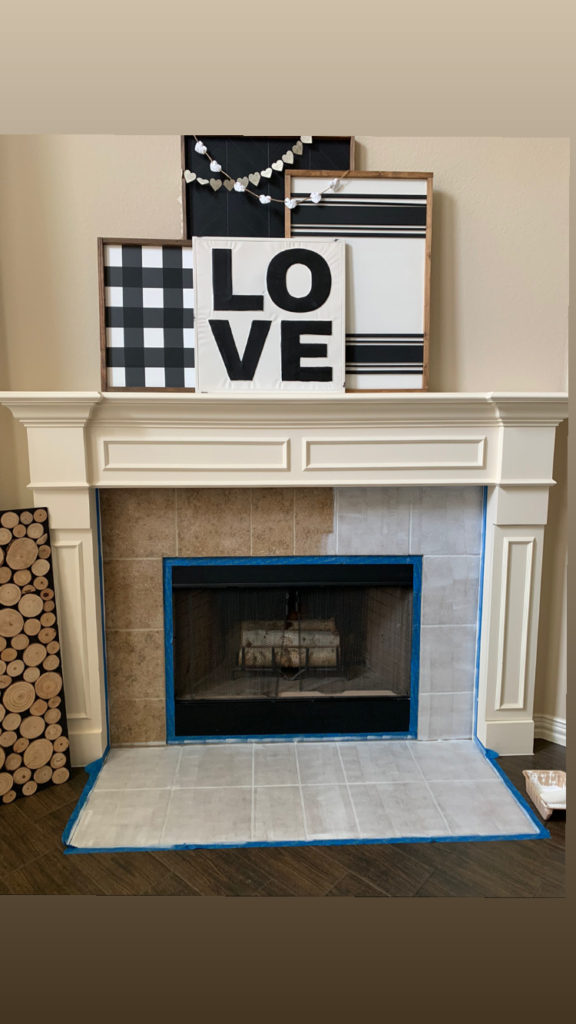
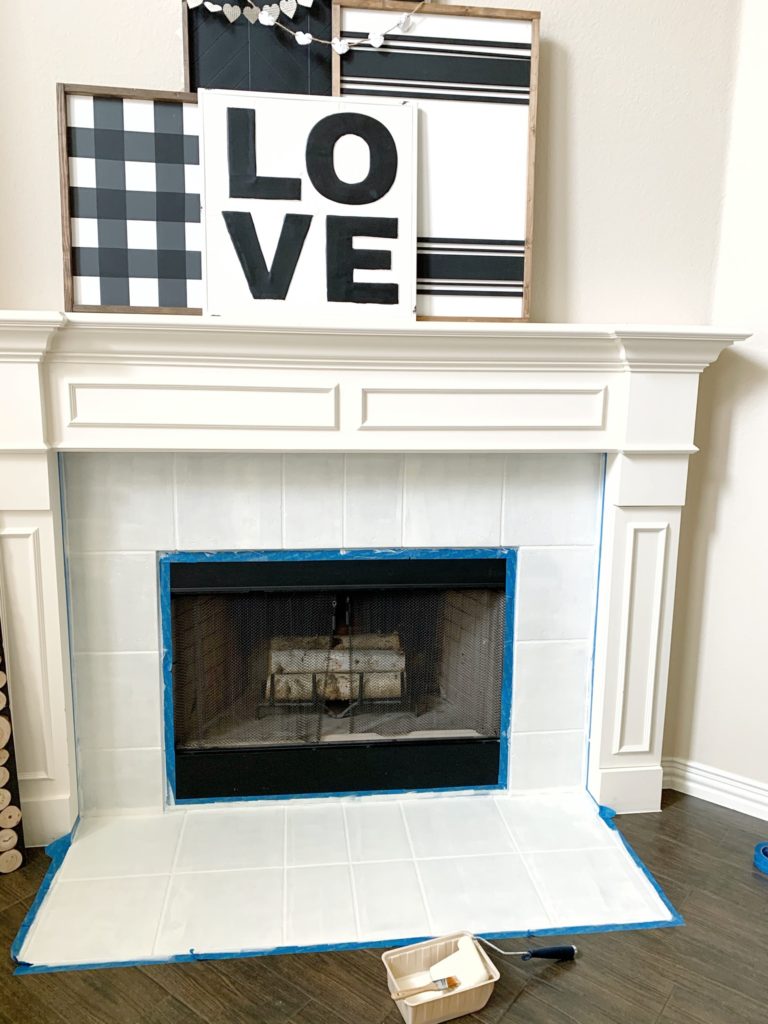
Over the years I have seen so many people do tile painting and watched lots of tutorials, but was too scared to try it myself for fear of messing up! Being stuck at home for COVID-19 forced me to do it since not having things to do was about to drive me insane! I had actually purchased my stencil from @cuttingedgestencils months ago, but never got brave enough to try it. It’s probably worth mentioning my husband needed to be convinced too. I think he thought I was crazy when I mentioned painting our fireplace tile, but I planted the seed and eventually he agreed!
Supplies
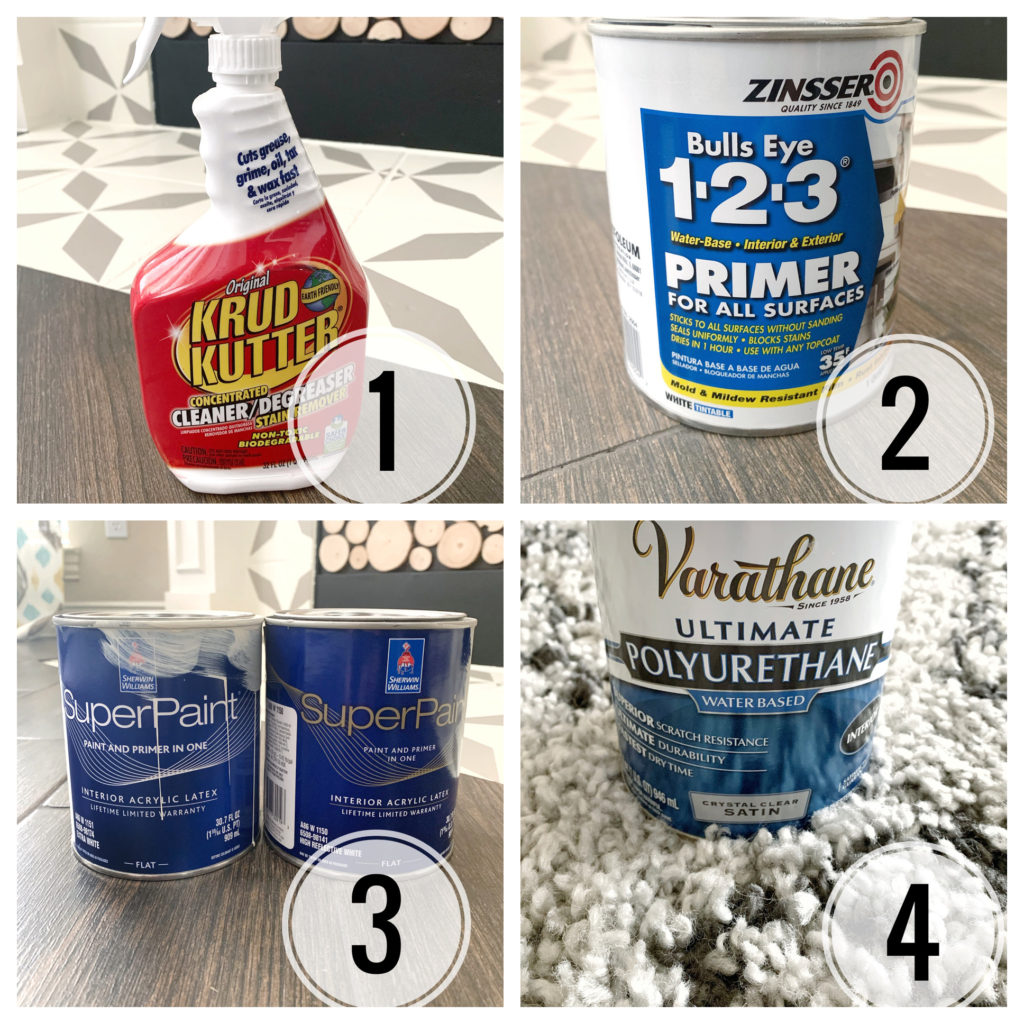
First, I researched and gathered the supplies I needed. Here is what I used:
- Cleaner – Original Krud Kutter Cleaner & Degreaser
- Base Coat – Bulls Eye 1-2-3 1 qt. White Water-Based Interior/Exterior Primer and Sealer
- Paint Color of your choice – Sherwin Williams SuperPaint Interior Acrylic Latex
- Top Coat – Clear Satin Water-Based Interior Polyurethane
- Stencil Brush – New Renaissance Professional Chalk Painting and Wax Brush
- Stencil – I used this one!
- Painters Tape – I used one that was for sharp lines but I don’t think it really matters – ScotchBlue Sharp Lines Multi-Surface Painter’s Tape with Edge-Lock
- Paint Brush – for edges & grout – 2 in. Pro Nylon/Polyester Angle Sash Brush
- 4 inch roller with 3/8″ nap – (many people like using a foam roller, but it didn’t work as well for me – maybe because my tile was not completely smooth)
- Paint Tray
Process
Basic Order of products used….
Step by Step Details…
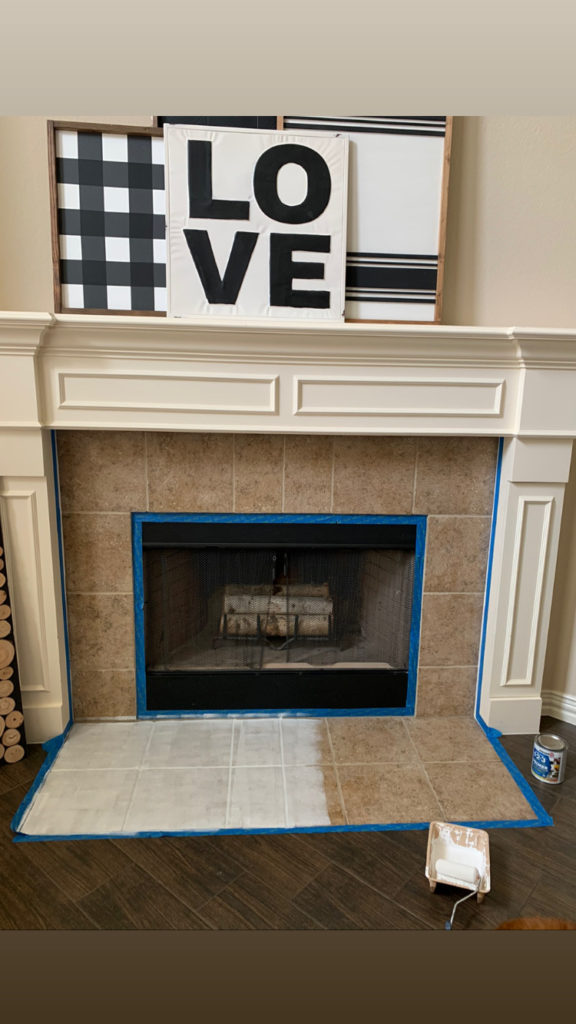
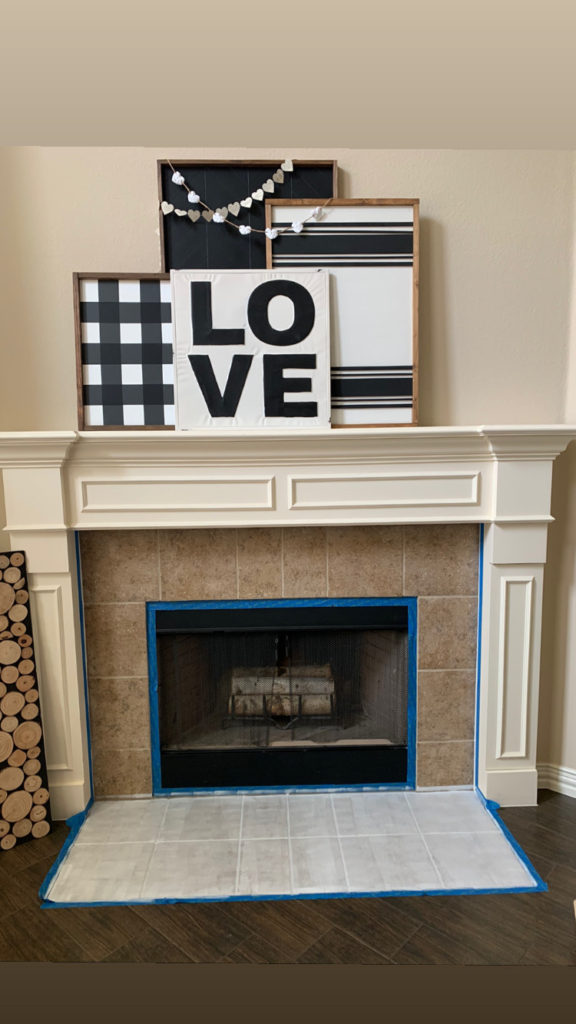
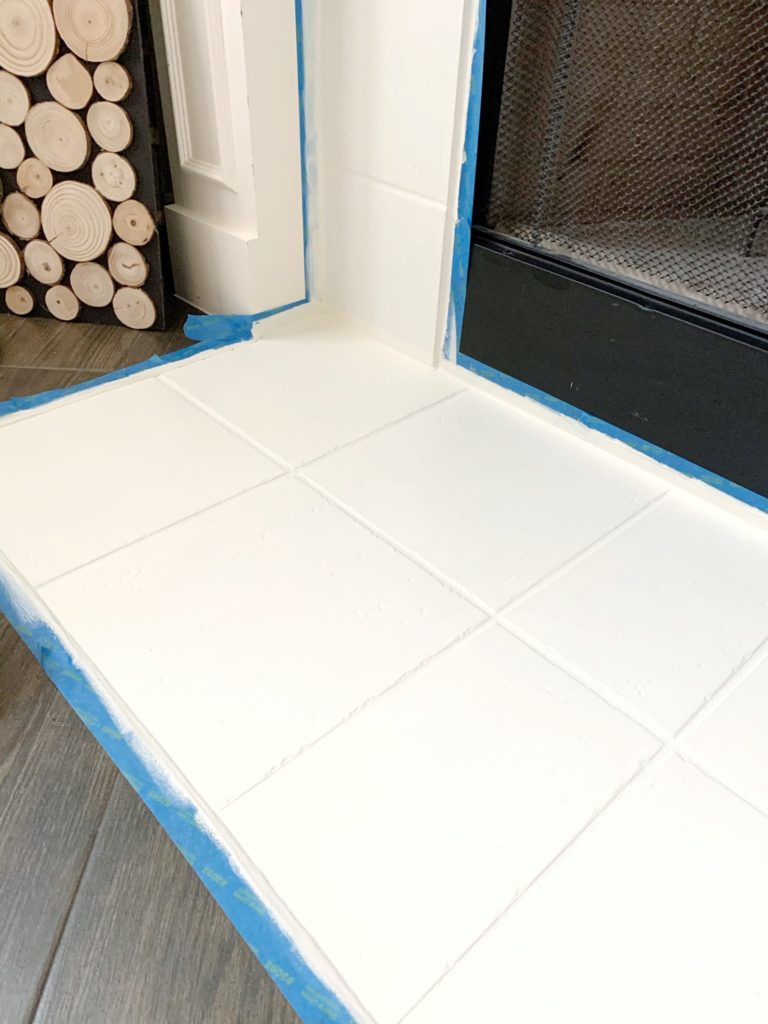
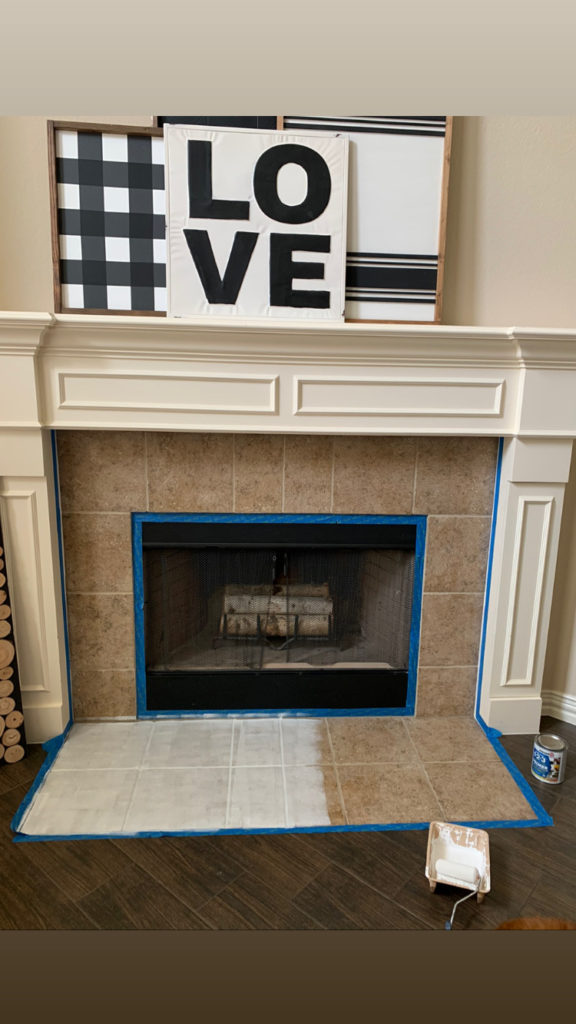
1. Start by taping off edges. I did my fireplace so was very careful taping to make sure paint didn’t bleed under the tape
2. Roll primer coat on. I only did one coat. Just enough to have something for the paint to adhere to. This was by far the most nerve wracking step!
3. Let the primer coat dry for several hours, then apply the first coat of paint. I used Creme by Sherwin Williams color for the background. I did 4 coats of this. Covering up our dark tile took a lot. I also started out with a foam roller and switched to the one with 3/8″ nap which was much better.
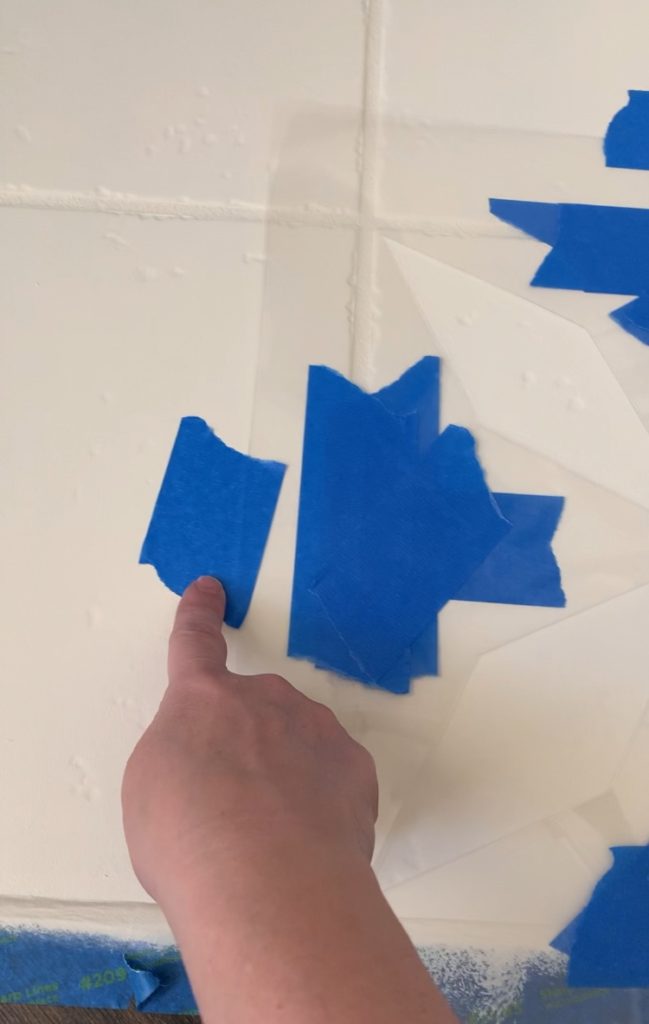
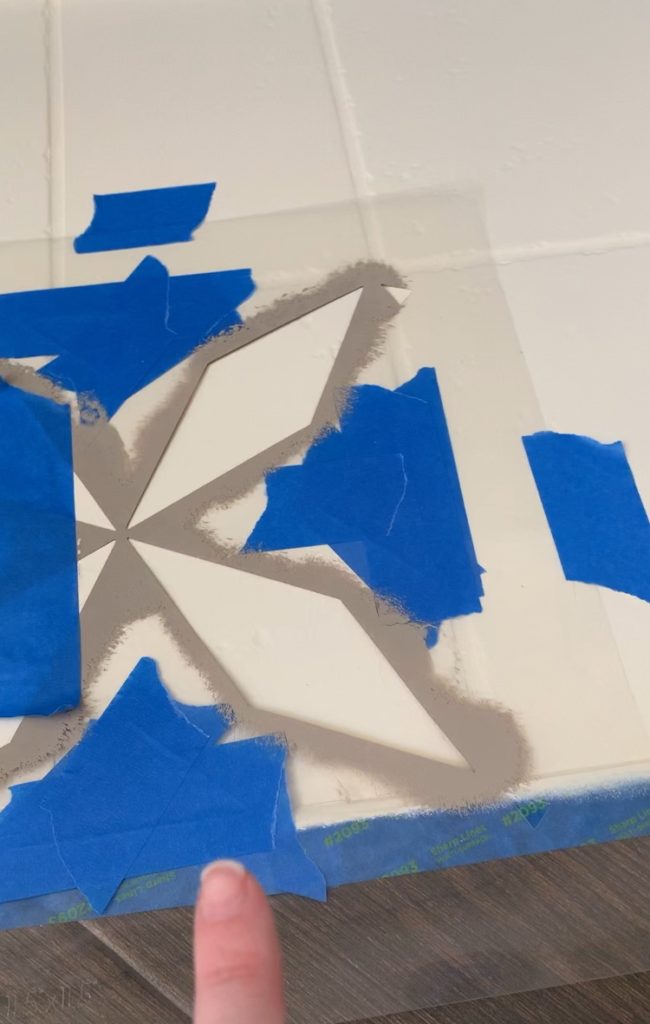
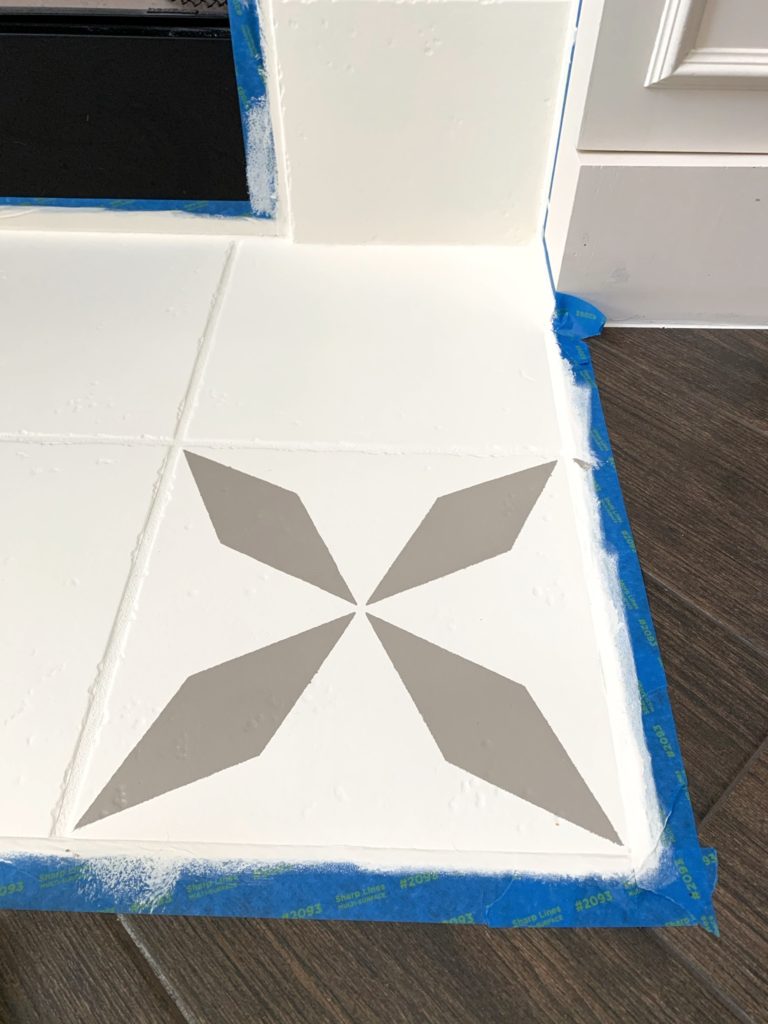
4. Once you are satisfied with the paint coverage for the bottom coat, you can prepare for stenciling! Tape the stencil down on one tile. I taped all 4 sides so it wouldn’t slip around. Additionally, on my particular stencil I didn’t want to use part of it, so I taped up the holes.
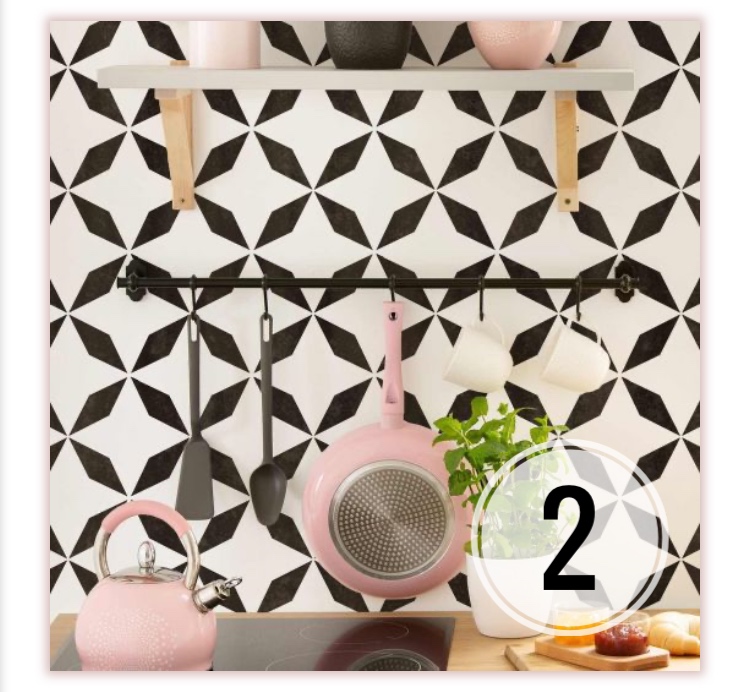
My stencil can be used 2 different ways. I chose #2.
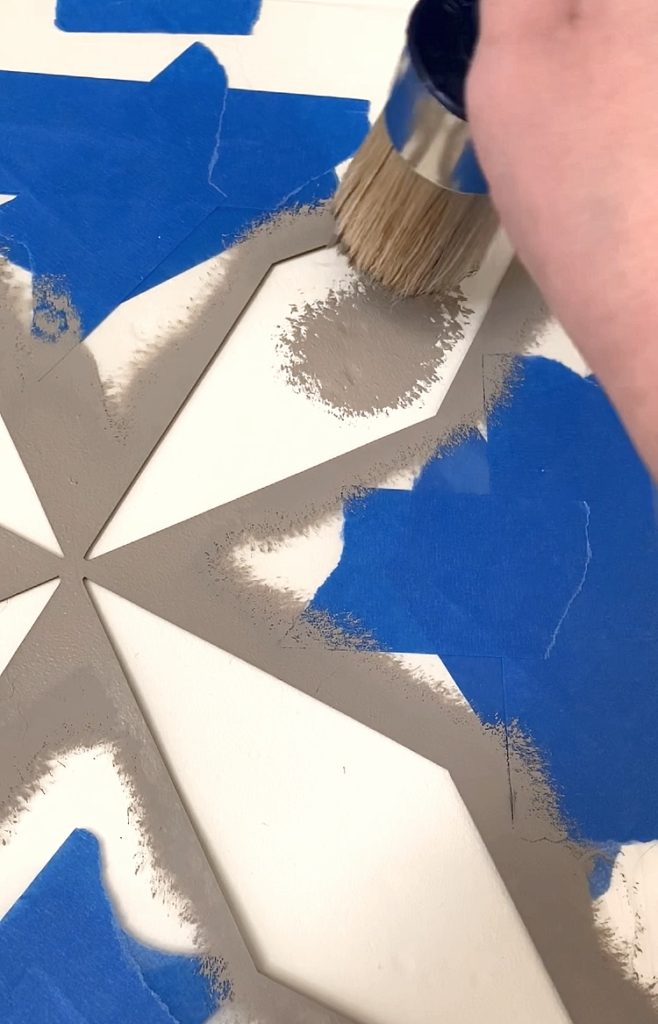
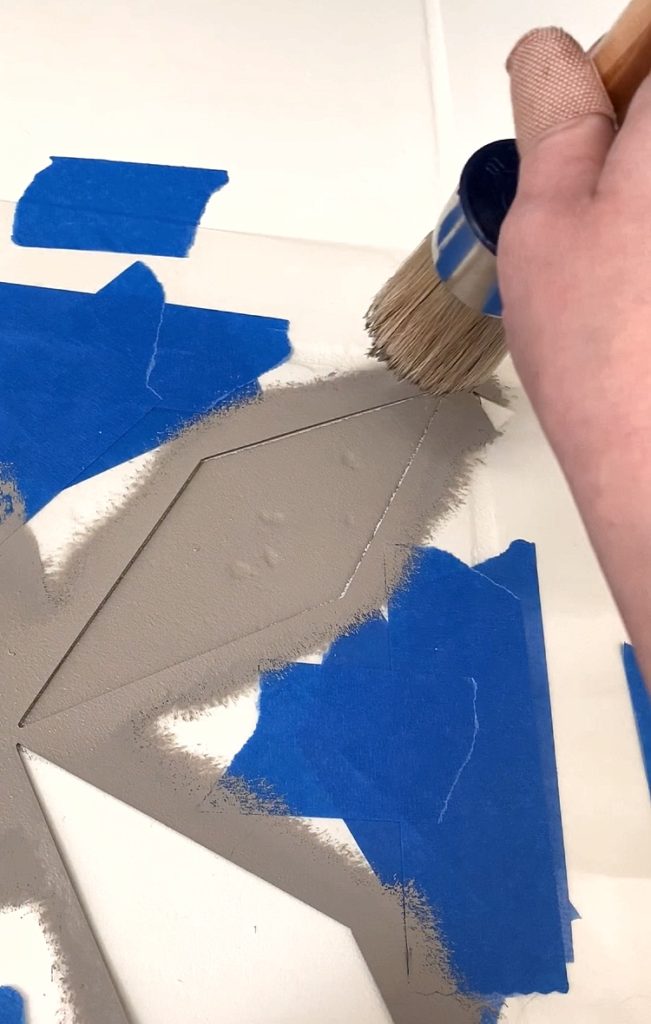
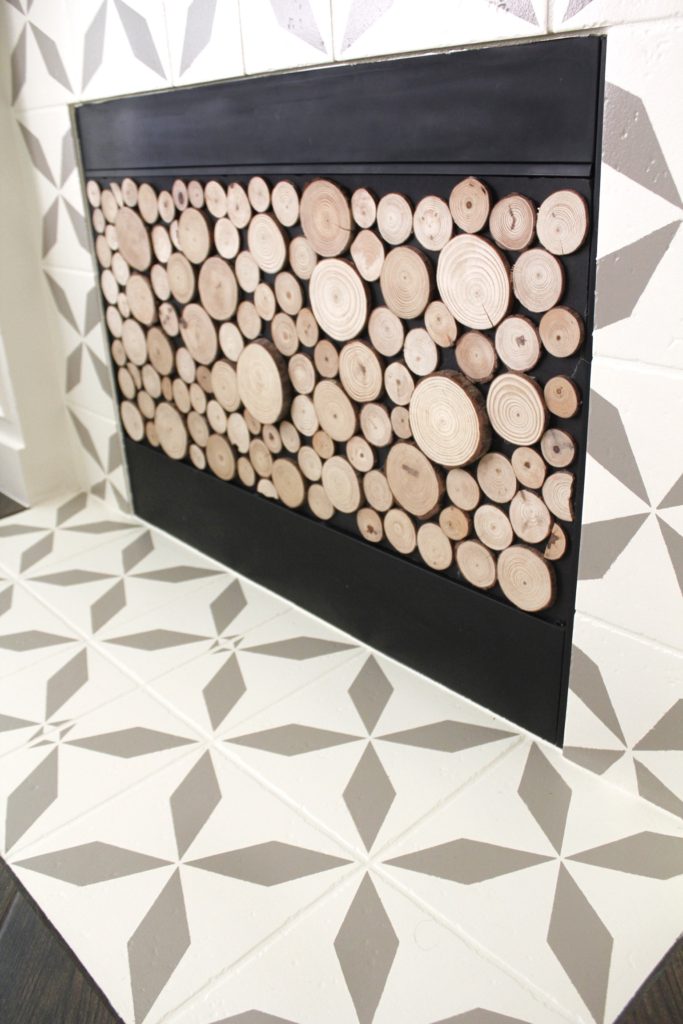
5. Use the stencil brush and dab the paint on (stamping it until you have the coverage you want). I have videos of this whole process saved under my TILE PAINTING highlight at @tablefor5please on Instagram.
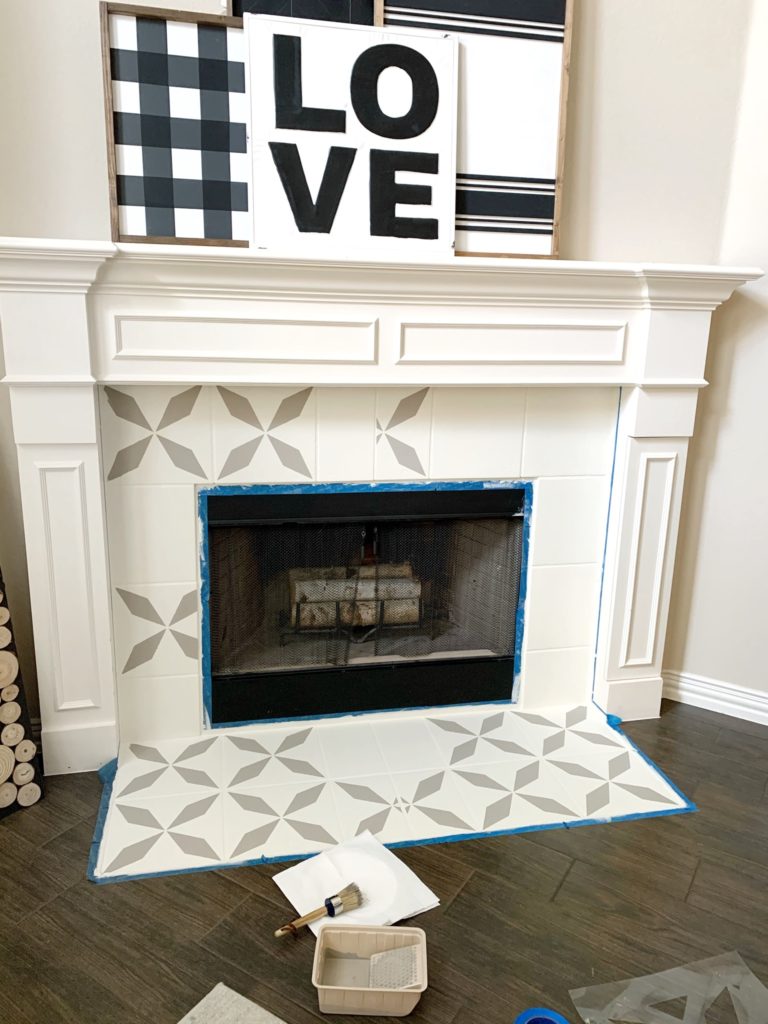
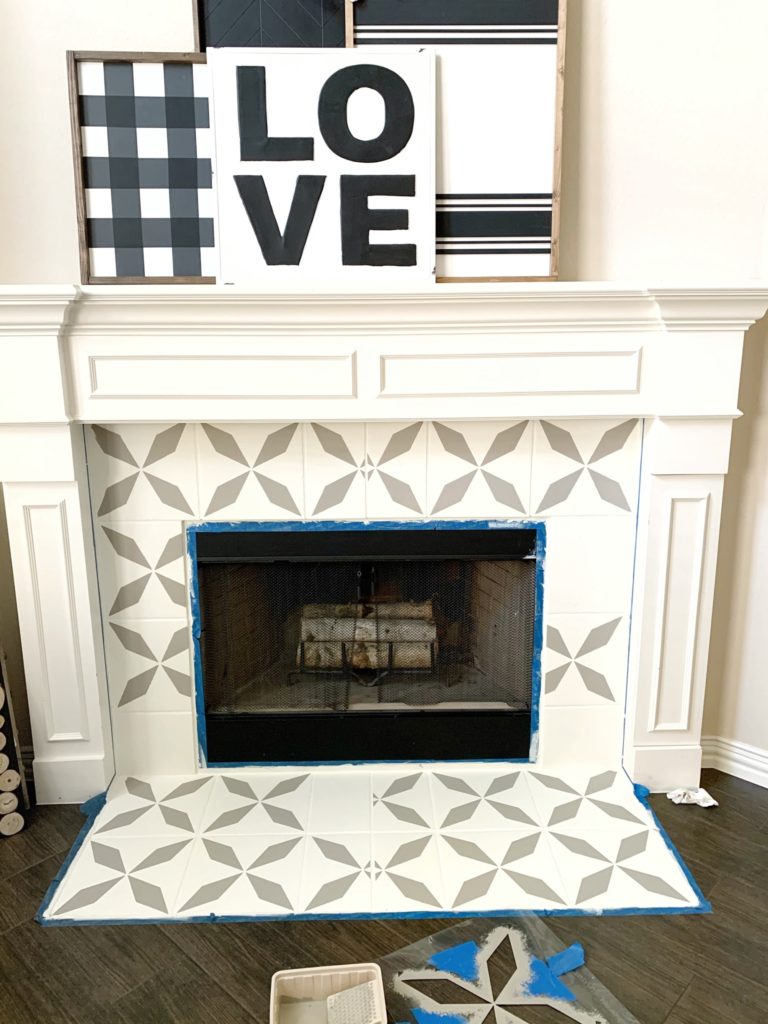
6. Slowly peel the tape off and remove the stencil. Tape your stencil to the next tile, but make sure you skip a tile in between since the tile you just painted is wet. This part will have to be done is stages to wait for paint to dry.
7. Once you have stenciled every tile, make touch ups where needed, then let sit for a few days. Leave all painters tape on.
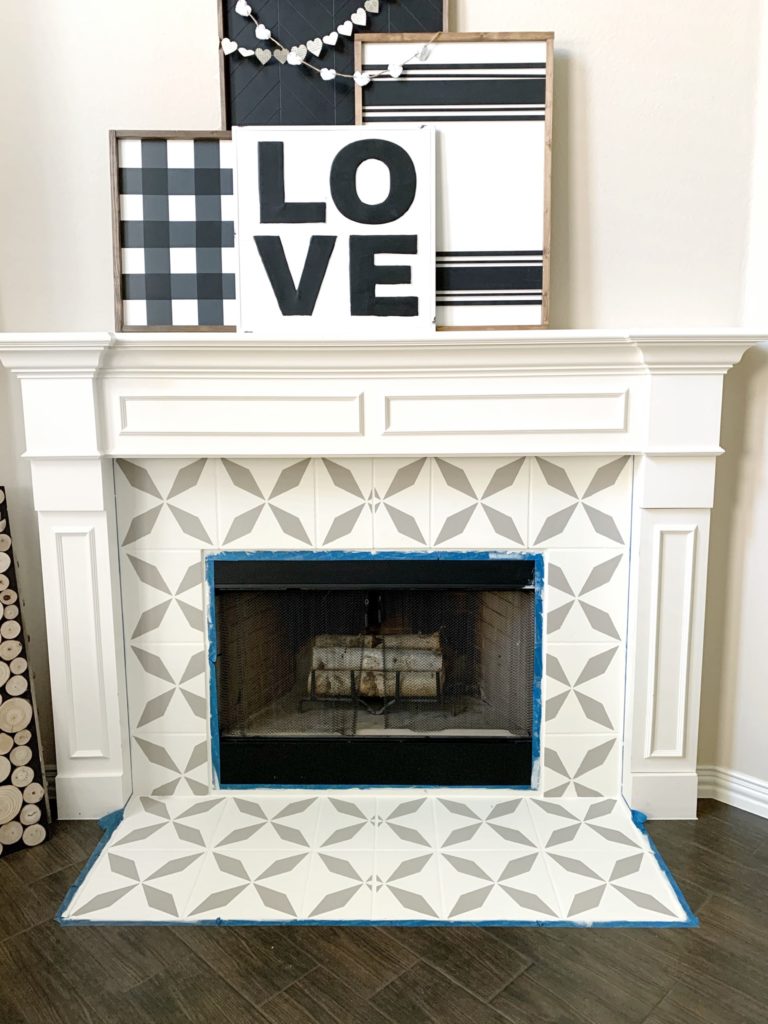
8. After the paint has had a few days to dry, I went back and applied 3 coats of water based polyurethane. Make sure this is water based and not oil based, as oil based will yellow over time. Wait a few hours in between coats, but after that you are done!
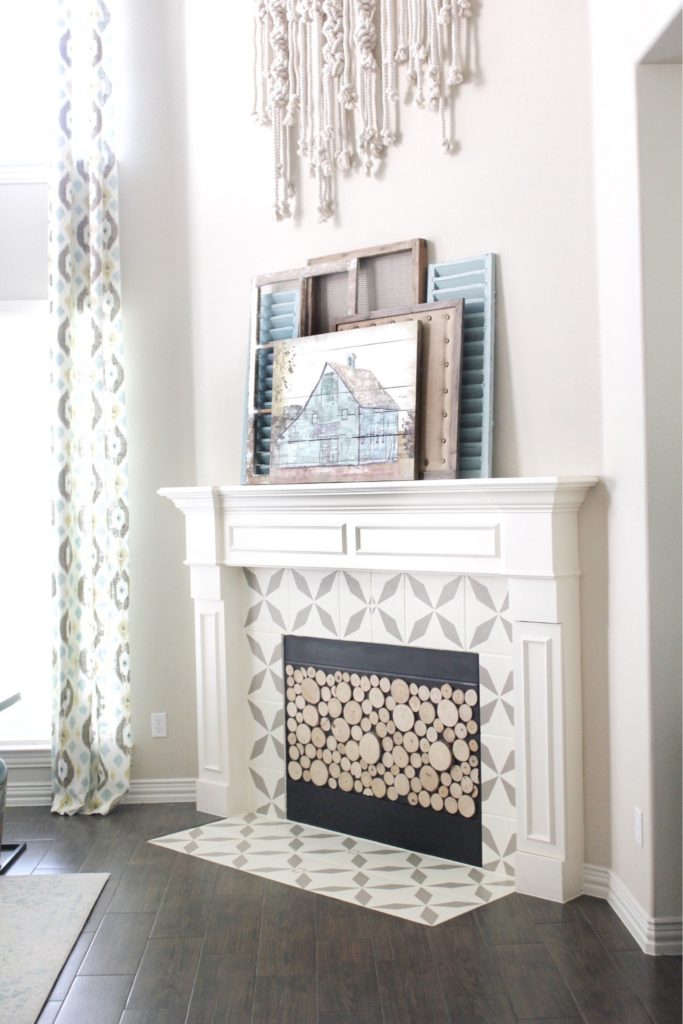
9. Remove that painter’s tape and enjoy all that hard work! Beautiful right? That is it. The process took several days only due to paint coats drying in between but it really wasn’t that bad at all! I’m a beginner DIYer for sure, and if I can pull it off you can too.
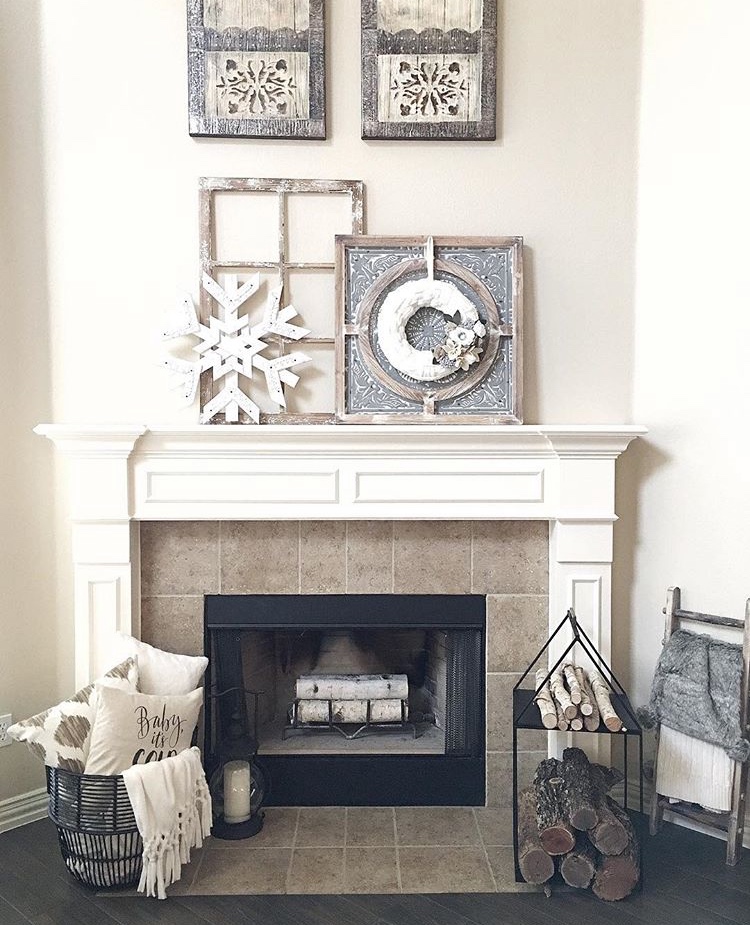
Before
After

